
Boo!
I hope you've all had a fantastic week. Seeing as though the last time I mentioned this Paper Rose was back in September (DIY Gift Ideas), this post is long over due. I hope you find this tutorial helpful, and with Mother's Day coming up soon this would make a lovely card :)

TOOLS:
- A4 Paper/Craft Paper
- Glue
- Scissors
- Paintbrush/Tooth Pick/Cotton Bud
- Glitter/Anything Decorative (Optional)

1) If you have square craft paper it is not necessary to complete this step.
As we want to use a square piece of paper, if you are using A4 Paper, firstly fold the A4 sheet in half, then complete steps 2 and 3 below to achieve the square shape.
Keep the rectangular shape you cut off when creating the square as we will use this piece of scrap paper later on in the tutorial.
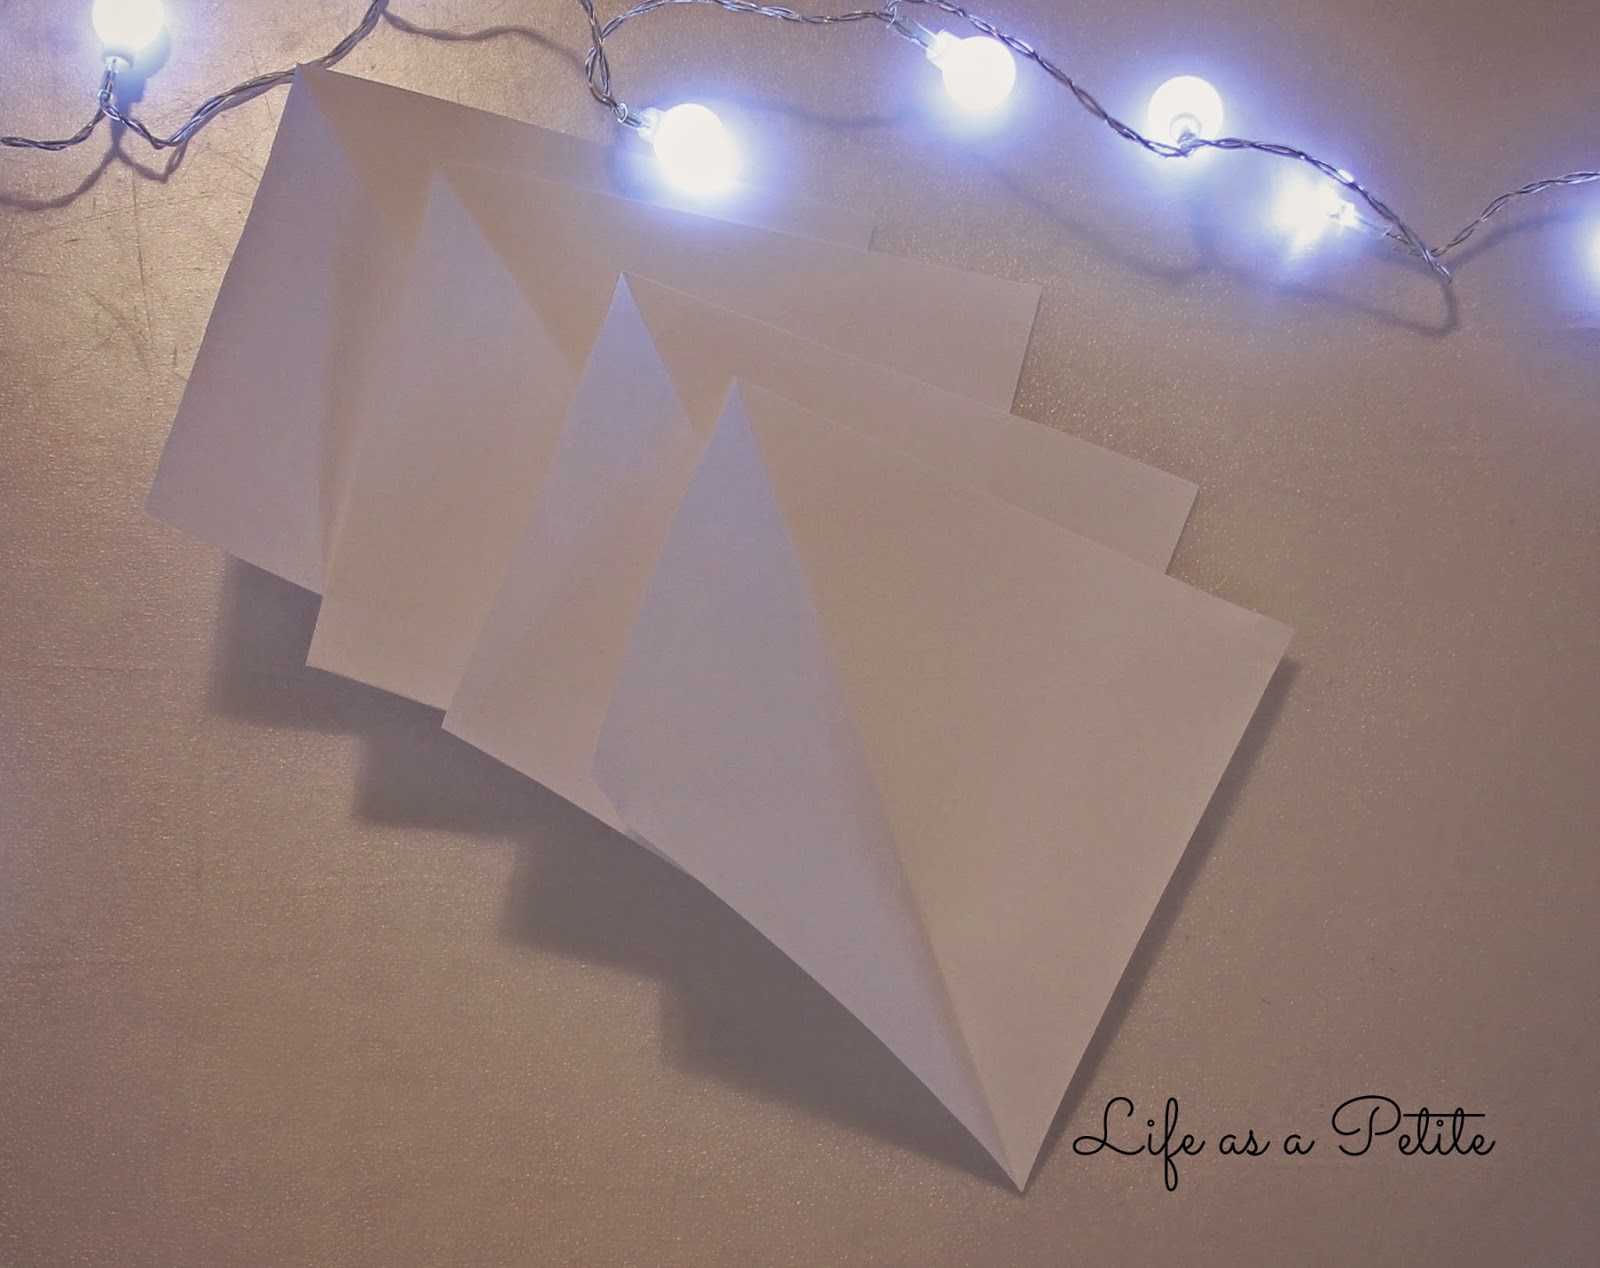
We need 4 of these square pieces of paper:

2) For the next step it might be easier using the 'Cabbage Rose Corsage' Template below as I have yet to understand how to properly achieve this shape. I actually followed THIS Youtube video, but as it doesn't explain it very well I'll try to explain it as clearly as I can.

In the picture below, I have inserted a dotted line - that is to be the middle of the diamond shape. You need to fold the two corners upwards to create the two equal sized triangles.
I've tried to shown with the black arrow below where the two corners should cross. Where the two cross should actually be the middle of the diamond shape.


3) The next step is to cut out a petal shape, and then cut off the pointed part of the petal shown by the dotted line below. When you open it up, you should get a full flower template with a hole in the middle. I actually cut the hole too large here, it would be much easier to cut it slightly smaller as shown in the template above.


4) The next step is to curl the petals. This is where you use your paintbrush/cotton bud to curl the petal. If your flower templates are smaller I would use something like a cotton bud, however if yours is bigger like mine, then use a thin paint brush - it gives a more subtle curl.
Do this to all four templates.

5) With all four templates curled the next step is to cut them. Cut where the dotted lines are shown below:

And this is what you should be left with: 6, 5, 4, two 3's, 2, and 1 petal

6) Do you remember the scrap rectangular piece of paper above? Well this is where we will use it - cut a circle large enough to cover the flower hole (hence it being better to have cut a smaller hole before).

Add some clue to this circle and stick the 6 petal flower template onto the circle like so:


6) You may have noticed that we have two 3-petal templates, but we actually one need to use the one.
For the remaining flower templates you need to clue them a the blue points shown below.


And you should end up with these:

7) Taking the 2 largest templates (5 petal), and the 6-petal template that has already been glued to a circle backing, glue the centre of the 6-petal template and stick the 5-petal template down as shown below:


8) Repeat step 7 and you should end up with this rose:

You could leave the rose as it is, or you can add some glitter, and glue it onto a card like so:

I hope you found this tutorial useful - do let me know whether you need any clarification on anything :)
Do you know what you're getting for Mother's Day?
Enjoy the rest of your weekend! Take care and speak soon.
☺
• • • • • • • • • • • • • • • • • • • • • • • • • • • • • • • • • • • • • • • • • • • • • • • • •
Other DIY posts you may be interested in:
%2Blifeasapetite.blogspot.co.uk%3A2014%3A06%3Adiy-bordered-heart-bracelet.html%2B.JPG)


The end result looks amazing x
ReplyDeletewww.ofbeautyandnothingness.co.uk
A great post on how to make paper flowers. You give really good instructions too, I like how you numbered the steps and put pictures up too x
ReplyDeletethemakeupjunkiesdiary.blogspot.co.uk
Lovely post, what a cute looking flower, I'll show it to my daughter and perhaps we'll try it together :) Thanks for the clear instructions.
ReplyDeleteThank you very much! If you both do end up trying it, it'll be lovely to see how they turn out :) x
ReplyDeleteThank you!! I;m glad you found it useful :) enjoy the rest of your week! x
ReplyDeleteThank you so much Heather :) x
ReplyDeletebeautiful work
ReplyDeletenice blog dear
NEW BLOG POST : http://melodyjacob1.blogspot.com/ .
THANK YOU
wow this looks really cool! Seems like something my nieces would love too, maybe something we can do together! :)
ReplyDeletemeimei xx
www.meimeisays.co.uk
How wonderful that you made this yourself, the overall effect is dainty, feminine and beautiful! Have a wonderful week :)
ReplyDeleteGabrielle | A Glass Of Ice
x
These look amazing and rather simple to do now I have read the instructions. Great post x
ReplyDeleteThis is such a cute crafting idea, thanks for sharing! xx
ReplyDeleteAmy | www.perksofbeingamy.co.uk
This is so cute, and seems really easy! Although I am so bad at origami that I bet I can also ruin this haha! :)
ReplyDeleteIndia / Touchscreens & Beautyqueens
Origami is so much fun, this is adorable :)
ReplyDeleteCorinne x
www.skinnedcartree.com
Excellent... love the detail in the writing and the great images to help guide me through my attemps
ReplyDeleteWhat a pretty paper rose. All the better for it being homemade. Perfect for MOther's Day. Tx
ReplyDeleteThat looks so effective. A great idea to add to a card for a birthday or Mother's Day
ReplyDeleteThis is so pretty, thanks for this tutorial. In Spain we celebrate Mother's Day on the first Sunday of May, so I still have some time before getting the gift for my mom.
ReplyDeleteJasmine xx
For a Real Woman
such a cute idea! Thanks for the tutorial - I love origami style art ♥
ReplyDeletehttp://storybookapothecary.com ♥ stop by and chat with me :)
This is so adorable and amazing! i love handicrafts and this was really easy to follow except the folding part. Thanks for the idea I was wondering what I could do for my mum :D Lovely idea! Thanks for sharing :)
ReplyDeleteGig Love,
-Siew Hui, http://3verythingilove.blogspot.com
so creative.... absolutely adorable.... i love to make such things and i am definitely trying this idea..thanks hun!
ReplyDeletethat looks very easy to make and it is very pretty too! thanks for the thorough DIY instructions.
ReplyDeletehttp://cherpopiah.blogspot.com
Great job on this! I'm terrible at arts and crafts stuff, so I'll just admire what you did instead. I'm too afraid to try it out myself. Haha.
ReplyDeleteomg you are so creative and this is so beautiful.
ReplyDeletethank you for the inspiration for us :D
What a beautiful idea. You are really creative, will try this DIY soon.
ReplyDeleteGlamupGirls
Thank you very much :) x
ReplyDeleteThank you! If you guys do decide to do it, it would be lovely to see how the turn out in the end :) x
ReplyDeleteThank you so much Gabrielle, and for your lovely comment as well! Hope you're having a fab week as well :) x
ReplyDeleteThank you, I'm glad you found the instructions easy enough to read and thank you for the comment! x
ReplyDeleteThank you so much amy, I'm glad you liked it :) x
ReplyDeleteOrigami usually takes me a couple of times to get right so don't worry if it doesn't turn out right the first time :) x
ReplyDeleteIt is, can get a bit annoying at times:p but definitely worth it after seeing the end product :) x
ReplyDeleteThank you so much! Good luck with your attempt!! x
ReplyDeleteThank you so much Tracey! Handmade gifts are perfect for these kind of occassions :) x
ReplyDeleteThank you! definitely, and any other occassion would also be great too :) x
ReplyDeleteYou're very welcome! The folding can be a bit tricky but if you cut out the template things will be a lot easier :) If you have any questions do drop me a message :) x
ReplyDeleteNo problem! I'm glad you liked it :) Would love to see how it turns out if you do try it out x
ReplyDeleteYou're welcome! Hopefully I'll have a origami butterfly tutorial up soon as well and will let you know :) Thank you for your lovely comment x
ReplyDeleteYou're very welcome, I'm glad you fine the instructions easy enough to follow! x
ReplyDeleteThank you! aww don't be, i'm sure you'll be amazing at it :) ! I'm quite clumsy as well, and these things do take so much effort/patience at times, but you'll be so proud once you've done it :) x
ReplyDeleteit can be a bit tricky if you're making the template, but if you just print out the already made one things are a lot easier :) x
ReplyDeleteThank you very much :) BEst of luck if you do end up doing it :) x
ReplyDeleteaww thank you! you're very welcome :) x
ReplyDeleteThank you so much! Would love to see how they turn out! If anything isn't clear do let me know :) x
ReplyDeleteThese are so lovely! What a smart tutorial! :) x
ReplyDeleteJadirah Sarmad | Jasmine Catches Butterflies ʚϊɞ
These are lovely, alas I dont think I have the patience to do these.
ReplyDeleteGIGLove www.icynosure.in
wow, thanks for sharing this step by step guide! and we can use different coloured papers to make a rainbow rose too!
ReplyDeletewow beautiful rose..i have been making crepe rose too.....it's so time consuming!!
ReplyDeleteGreat post, the rose looks amazing. I wish I had time to do things like this but I'm not very good at creative things.
ReplyDeleteGIG LOVE | The Life of Leeshastarr
Your rose looks fabulous!
ReplyDeleteI'm definitely going to have a go at this,
Thanks for sharing such a detailed tutorial!
Pixee xx
I am not a DIY type of girl. Chalk it up to laziness...lol. But this is a good post. I love your blog.
ReplyDeletehttp://llhuxlounge.com/
This is so cute, cant believe you made this! Thanks for the tutorial :) xoxo Francy @ http://www.fancy-francy.com
ReplyDeleteThis is so so so prettyy!!!! Love it!! I would definitely try it when I have the time =D
ReplyDeletesuch a cute tutorial! i use to make a lot of cards and this makes me want to go back to it and add this rose to one of them XD
ReplyDeleteNo idea what I am getting but I bet no one will make me a rose like this; it is beautiful!
ReplyDeleteWaww you are creative! I love DIY to.Maybe in weekend I will try this
ReplyDeleteBeauty Secret's Blog
Wow! This looks so preeeeeety! I wish I were as creative as you. good job :)
ReplyDeleteOh wow!! This came out GORGEOUS! My daughter is really into making arts and crafts so I'll definintely be showing this to her to make.
ReplyDeleteThis is beautiful! You are so talented, absolutely perfect for Mother's day too!
ReplyDeleteTweet xx
Oh wow these are fabulous, look so hard to make though :) x
ReplyDeleteOMG you're so creative! This is gorgeous and so different x
ReplyDeletelovely! I wish I had more time for crafty stuff! beautiful xx
ReplyDeletehttp://www.rachelbustin.com
So pretty! I'd never think to do this, great tutorial!
ReplyDeleteWow! These look absolutely beautiful! x
ReplyDeleteRachael xo || justrach.com
Thank you so much, that's really kind of you:) x
ReplyDeleteThank you! Some parts can be a bit frustrating but it's just takes a little getting used to :) x
ReplyDeleteIf you do give it a go I would love to see how they turn out! I'd definitely recommend printing out the templates as it's a little easier and also takes less time :) x
ReplyDeleteYou're very welcome! Ooh a rainbow rose would be amazing! Not sure whether I'd be great a putting the different complementary shades though haha. Might be quite good to make one with colours from the same spectrum x
ReplyDeleteThank you! They do take a little while so definitely recommend doing this when you have time or even just when watching tv etc x
ReplyDeleteThank you! You're very creative on the fashion side :D x
ReplyDeleteYou're very welcome! Do let me know if you need clarification on anything and good luck! X
ReplyDeleteThank you very much for your lovely comment :) haha it can be a bit time consuming but for some reason i find it therapeutic :p x
ReplyDeleteYou're very welcome, i'm glad you like it :) x
ReplyDeletethank you so much! if you do, good luck and let me know if you need a hand with anything :) x
ReplyDeleteIt's always finding time to do these kind of things :( hopefully you find some time soon :) x
ReplyDeleteThank you so much! It's always great when something turns out the way you hoped:) x
ReplyDeleteThank you! I'm sure youd be able to:) if you do decide to have a go, let me know if you need any help:) x
ReplyDeleteFinding time to do things like this is definitely difficult, I've resorted to doing them in front of the telly:p x
ReplyDeleteThat's such a lovely thing to say, thanks so much! X
ReplyDeleteSticking the parts together can be a bit tricky but it's not too bad:) x
ReplyDeleteThank you so much, my mum loved it:D x
ReplyDeleteThank you so much! I'm sure your daughter will have a lot of fun doing this:) x
ReplyDeleteThank you! I'm sure you are! But even if not you're definitely creative in the fashion department:) x
ReplyDeleteI hope you had time to try it:D if not maybe sometime in the future:) x
ReplyDeleteThank you so much! Aww I'm sure you got something just as lovely and thoughtful :) x
ReplyDelete